Creating a native module for React Native to read the proximity sensor

💡 TLDR
Learn how to build a React Native module to access device proximity sensors. This guide covers integrating native iOS and Android code into React Native using modules. It demonstrates reading proximity data, returning it to JavaScript callbacks, and updating UI based on sensor changes. Discover the differences between native proximity sensor APIs on each platform. This is an essential tutorial for accessing native device hardware and capabilities in React Native apps.
React Native Development
React Native is an open-source framework that allows the development of cross-platform mobile apps using JavaScript and React. It is widely used by developers to build iOS and Android apps with a shared codebase. This saves time and resources since it allows developers to reuse a large part of the code between the two platforms.
Integration with Native Development
In some cases, it may be necessary to access specific native platform resources that are not directly available in React Native. For this, React Native provides a bridge that allows communication between JavaScript code and native platform code. There are two main ways to do this:
- Native Modules: Developers can create custom native modules in Objective-C (for iOS) or Java (for Android) and then expose those modules to JavaScript. This allows the JavaScript code to directly call native methods to perform platform-specific tasks.
- Native Views: In addition to native modules, it is possible to embed native UI components into your React Native app. This is useful when you need a highly customized user experience or want to directly integrate with third-party native libraries.
 Source: https://react-native-course.elazizi.com/about-react-native
Turbo Module and Fabric:
In 2018, React Native introduced two new architectures to improve performance and efficiency:
- Turbo Module: Turbo Module is an upgrade to the native modules architecture that aims to significantly improve JavaScript performance when calling native methods. It makes use of static compilation to speed up communication between JavaScript and native code.
- Fabric: Fabric is a new rendering architecture that aims to improve performance and responsiveness of user interfaces in React Native apps. It was designed to be lighter and more scalable, making apps faster and more resource efficient.
 Source: https://reactnative.dev/architecture/xplat-implementation
Learn more at: https://reactnative.dev/architecture/overview
Proximity Sensor
Did you know that among the various sensors your phone has, one of them is the proximity sensor? It's through it that your phone turns off the screen when answering a call and bringing it close to your face so as not to overheat next to your skin.
What other applications can we have for this sensor?
- N26 uses it in its app to hide and show values.
- You can create a flap bird style app
- You can add a feature and flip through the pages of an ebook.
Therefore, let's create an RN library for IOS and Android to expose the native proximity sensor APIs. But first, let's understand the differences between the IOS and Android systems for this scenario:
IOS
On IOS the proximity sensor API return is a boolean:
true = Near
false = Far
and it behaves according to the graph below, with a buffer range.
 Source: https://itnext.io/ios-proximity-sensor-as-simple-as-possible-a473df883dc9
The native API documentation is here
IOS Simulators
The IOS simulators are included in Xcode, Apple's official IDE. They simulate the iOS operating system and device hardware like iPhones and iPads fully in software.
The simulators are fast and easy to use, but do not accurately reproduce real hardware. Some APIs that rely on specific hardware may not work properly. Simulators are best for testing app logic and interface.
For testing our module on iOS, we will have to use a physical device since the proximity sensor is not available on the iOS simulator.
ANDROID
On Android the proximity sensor API return is a numeric value from 0 to 10 cm, but on some devices it can also return a boolean value.
The native Android API documentation is here.
Android Emulators
The Android emulators are included in Android Studio, the official IDE. They run a virtual machine with a full version of the Android system. They emulate both software and hardware, including processor, GPU, camera, and sensors.
For testing our module on Android, we will be able to use the emulator since the proximity sensor is available.
Creating a Native Module
To create the native module in React Native it is recommended to use the react-native-builder-bob library.
It is a CLI that provides a module scaffold in React Native.
Let's start with the following command:
❯ npx create-react-native-library@latest react-native-proximity-sensorWe will have to answer some questions and select the module option we want to build. I chose a native module (Native Module) because I want at a later opportunity to migrate it to the newer Turbo Module version.

As well as the languages we want to use in our module.

After these steps, our base project will be generated. In it we have the folders:
-
ios and android: where the native module codes will be.
-
example: where a sample application for testing the module is located.
-
src: where the javascript/typescript files of the module are located.
-
lib: where the transpiled files are after the build.
-
And the rest of the files are configuration.

This project uses turbo.build to build the packages and yarn workspaces to manage the project's applications. Therefore, at the root of the project you can run the command:
❯ yarnAnd all dependencies will be installed, including the example project pods.
And to run the example project just run:
❯ yarn example ios

❯ yarn example android
Let's get to code
I won't go into detail on each part of the code, just the main ones so I don't drag on too much. Feel free to access the repository with the complete code and send me questions and suggestions.
iOS Code
In the ProximitySensor.m file we have a method to initialize sensor updates. As this initialization has to be done in the main thread, we need to make an async call to the main queue. You may notice that we have a RCT_EXPORT_METHOD decorator that will indicate this function will be exposed to the JS thread.

With this we will have a callback function proximityStateDidChange, which will be called whenever the sensor value changes:

Android Code
In the ProximitySensorModule.java file, we add the following import to access the sensor APIs.
import android.hardware.Sensor;
And we activate the proximity sensor:

And so, in the callback function when the sensor changes, we build our logic to send an event to JS. In JS we will receive an object with the distance key and another timestamp key with a configurable interval:

Javascript Code
Now that we have events with sensor data being sent by native code, we can create a listener to monitor sensor changes in JS:

And in our example app we can consume this listener and when there is a proximity change from far to near and back to far again (is_double_toggle), we can change the visibility state of the balance:

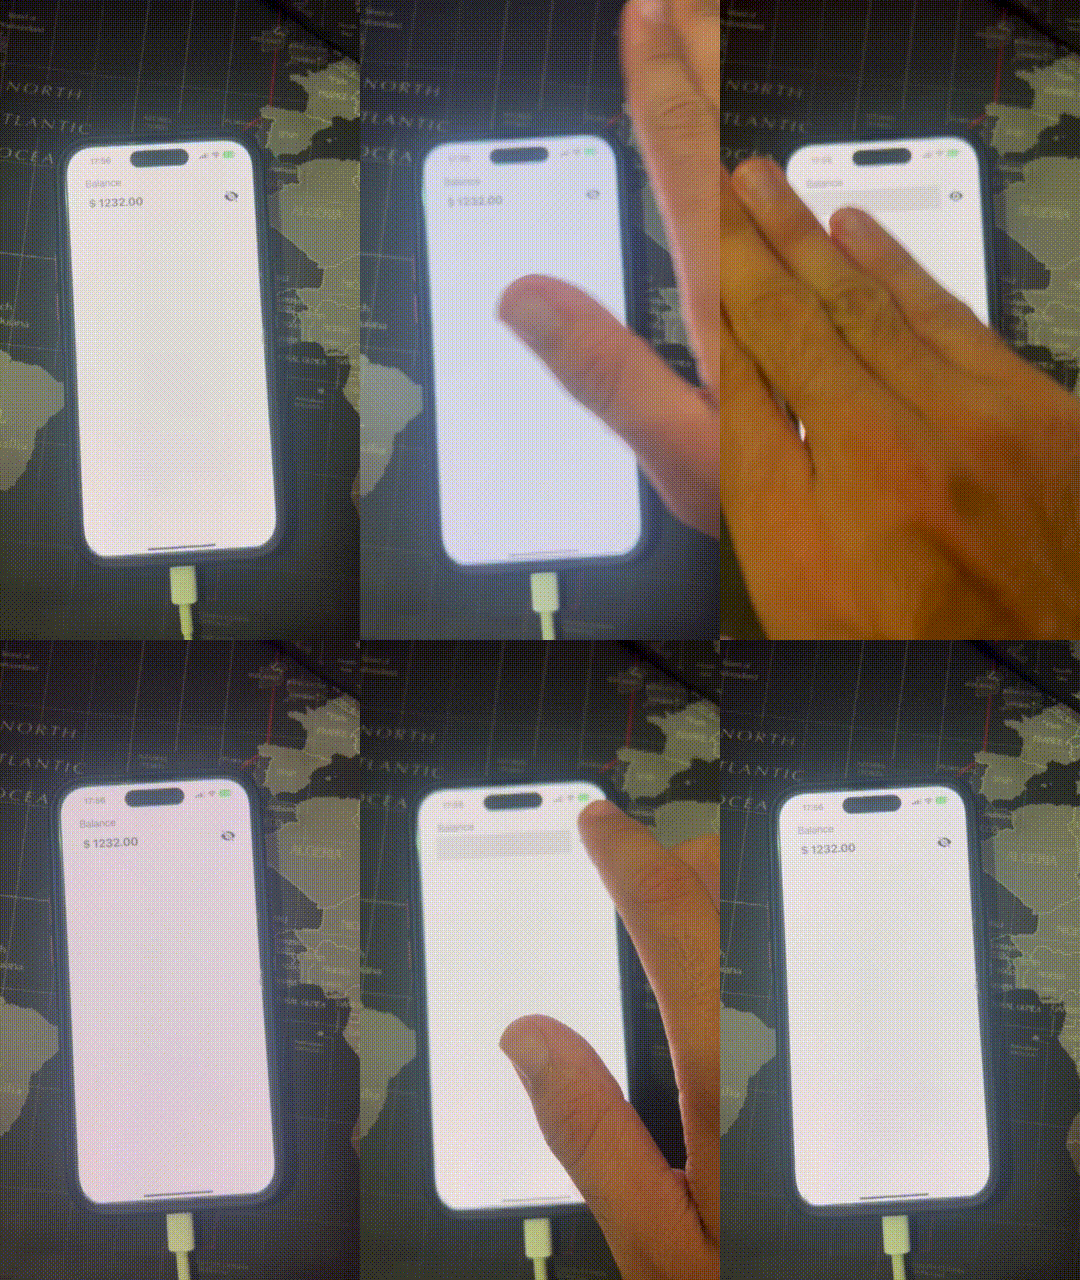
Working on iOS
Here we see our module working on the iPhone (physical device):

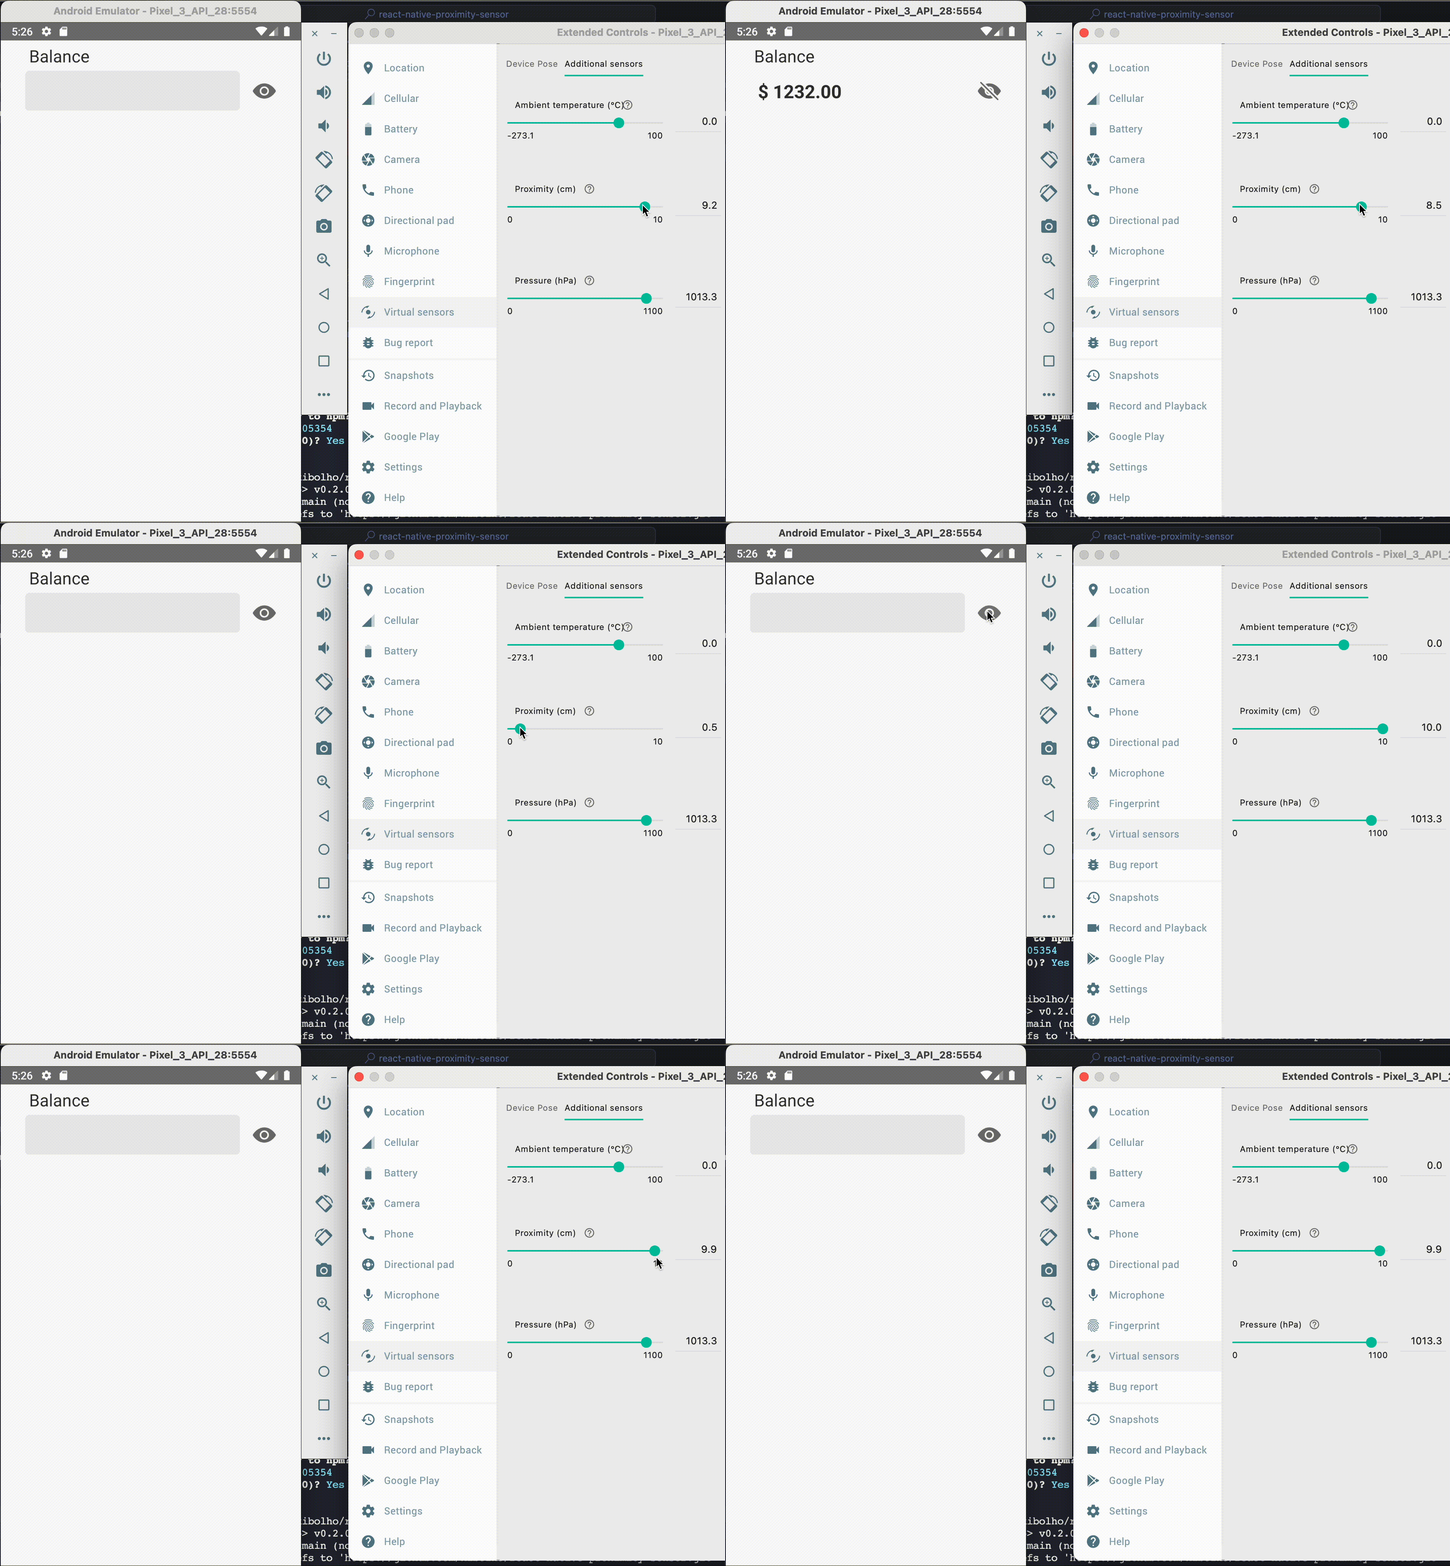
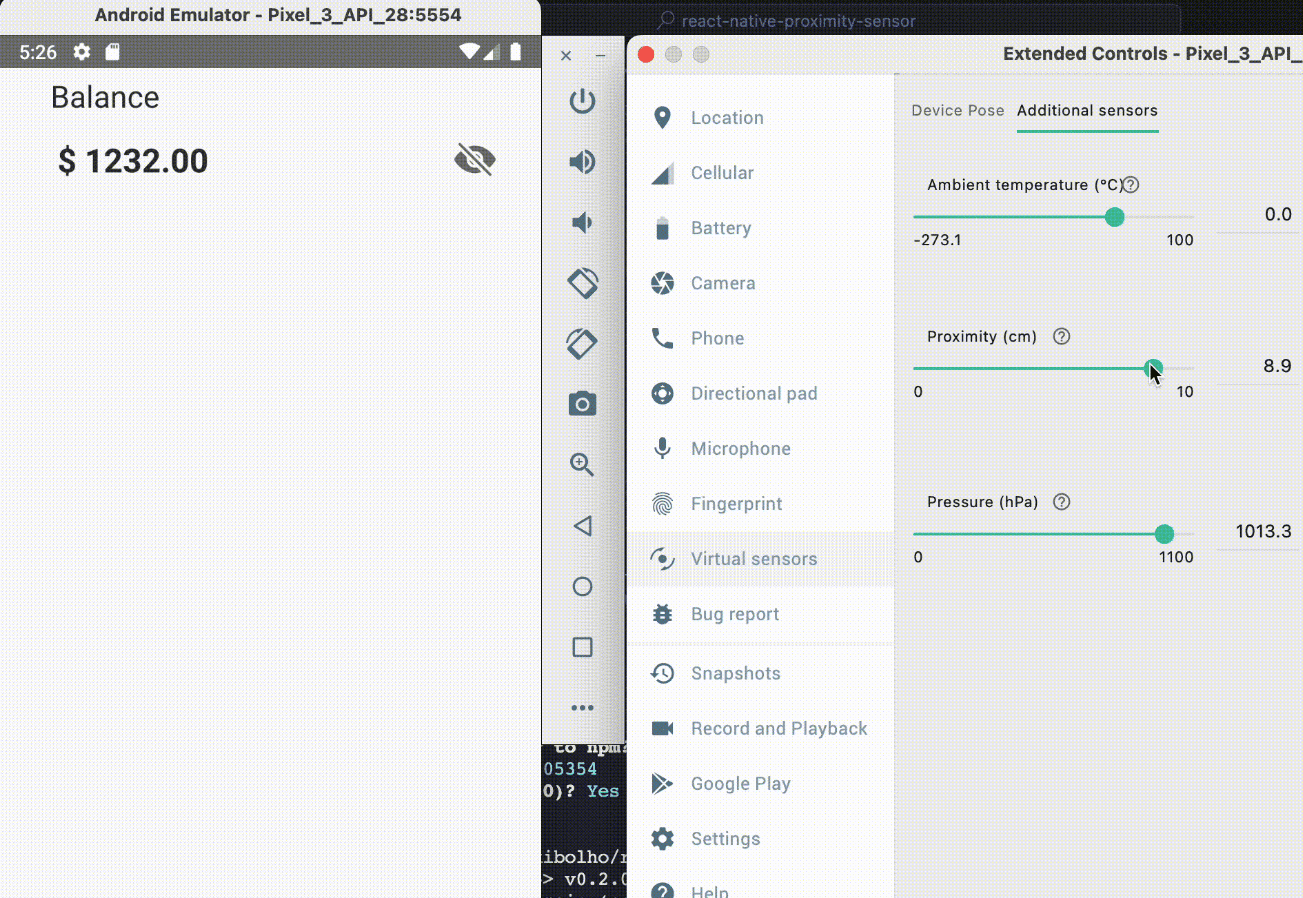
Working on Android (Emulator)
Here we see our module working on Android (emulator):

The NPM package can be found here.
The package repository is here. Who is excited to convert this module to React Native's new architecture? Feel free to send your contribution!
 See you next time, folks!


